Product configurators transform static product pages into interactive experiences. Instead of choosing from predefined variants, customers build exactly what they want—and see it rendered in real-time.
I've built several configurators for Shopify stores, from simple color pickers to complex multi-layer customizers. Here's what I've learned about doing it right.
Architecture Overview
A production-ready configurator needs three key components:
- State Management - Track user selections and compute pricing
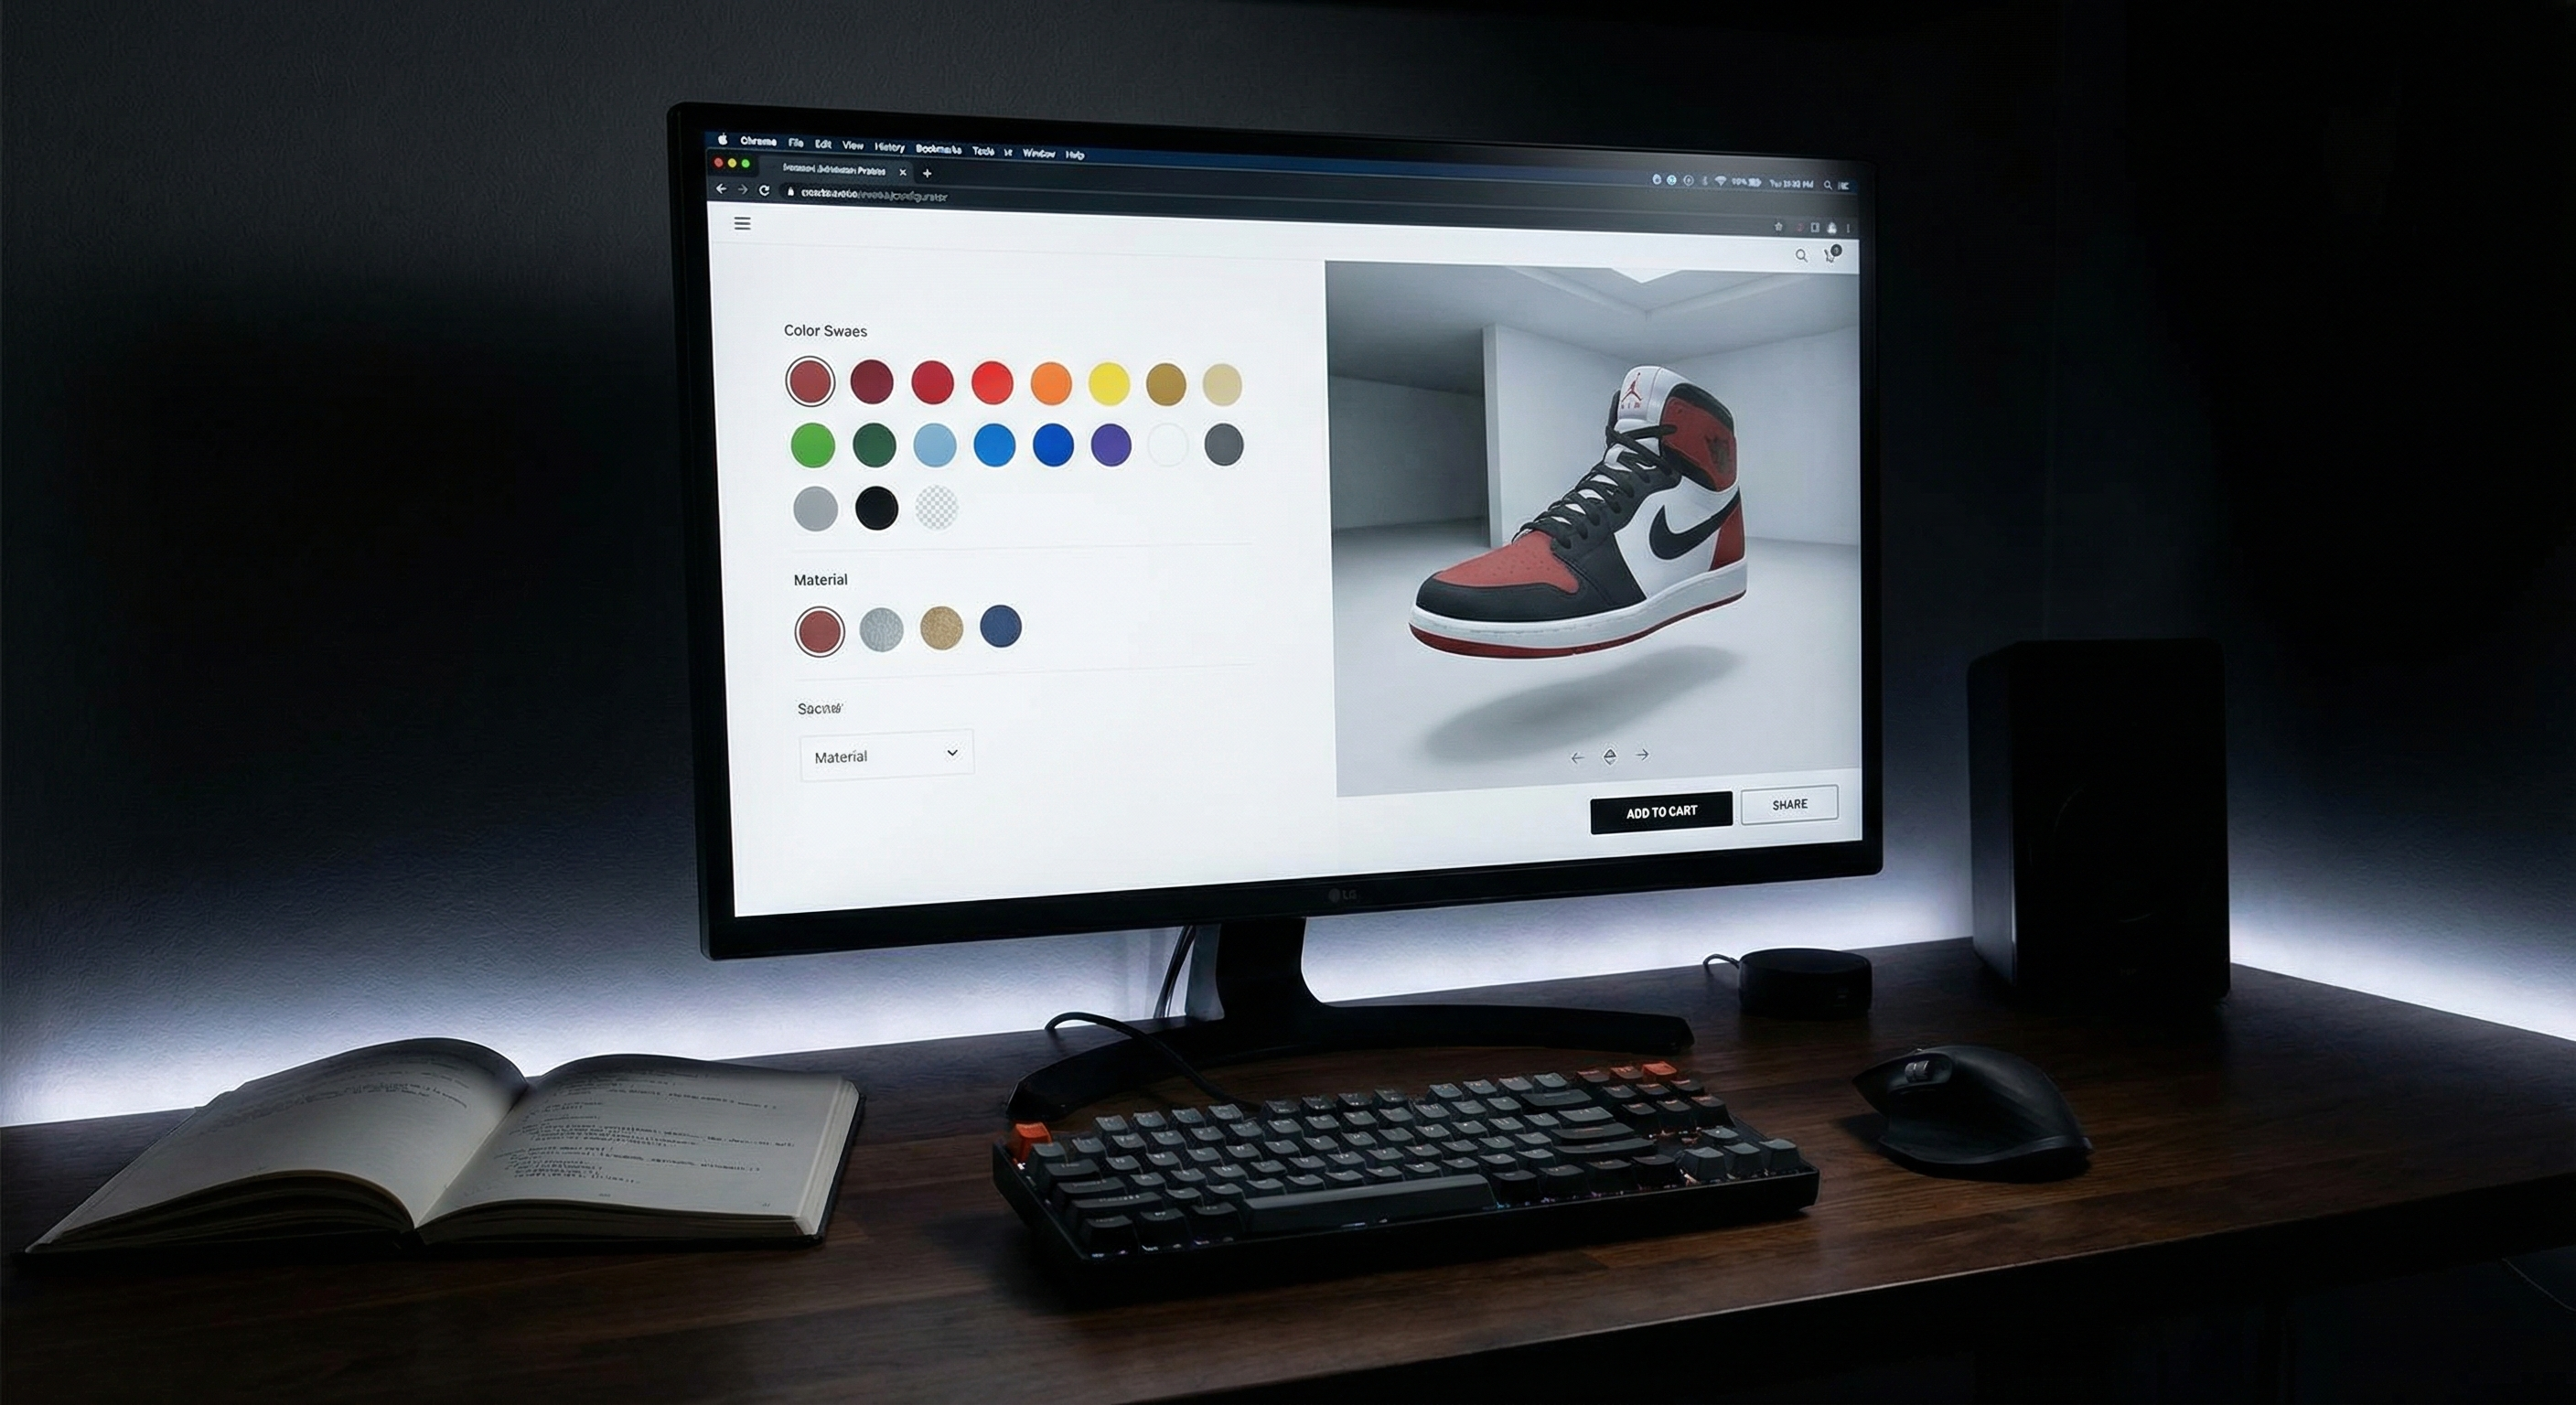
- Visual Preview - Render the configured product in real-time
- Cart Integration - Pass configuration data to Shopify's cart
The Foundation: Variant Management
Shopify variants are limited to 100 combinations and 3 option sets. For complex configurators, you'll store choices as line item properties instead:
\\\`javascript
// Product configurator state
class ProductConfigurator {
constructor(productData) {
this.basePrice = productData.price;
this.selections = {};
this.customizations = {};
}
// Update a configuration option
updateOption(key, value, priceModifier = 0) {
this.selections[key] = {
value: value,
price: priceModifier
};
this.render();
}
// Calculate total price with all modifiers
calculatePrice() {
let total = this.basePrice;
Object.values(this.selections).forEach(option => {
total += option.price;
});
return total;
}
// Generate line item properties for Shopify cart
getLineItemProperties() {
const properties = {};
Object.entries(this.selections).forEach(([key, data]) => {
properties[key] = data.value;
});
return properties;
}
}
\\\`
Real-Time Visual Updates
For the preview, you have several options depending on complexity:
Approach 1: Image Swapping (Simple)
Pre-render all combinations and swap images. Works for products with limited options:
\\\`javascript
// Simple image-based configurator
function updatePreview(color, material) {
const imageUrl = \/products/\${productHandle}/\${color}-\${material}.jpg\;
document.querySelector('.product-preview').src = imageUrl;
}
// Listen to option changes
document.querySelectorAll('input[name="color"]').forEach(input => {
input.addEventListener('change', (e) => {
const color = e.target.value;
const material = document.querySelector('input[name="material"]:checked').value;
updatePreview(color, material);
});
});
\\\`
Approach 2: Canvas Layering (Better)
For more flexibility, composite images on a canvas. This is what I used for Skylit Studio's configurators:
\\\`javascript
class CanvasConfigurator {
constructor(canvasId, layers) {
this.canvas = document.getElementById(canvasId);
this.ctx = this.canvas.getContext('2d');
this.layers = layers; // Array of layer definitions
this.loadedImages = {};
}
async preloadImages() {
const promises = this.layers.map(layer => {
return new Promise((resolve) => {
const img = new Image();
img.onload = () => {
this.loadedImages[layer.id] = img;
resolve();
};
img.src = layer.defaultSrc;
});
});
await Promise.all(promises);
}
render(configuration) {
// Clear canvas
this.ctx.clearRect(0, 0, this.canvas.width, this.canvas.height);
// Draw layers in order
this.layers.forEach(layer => {
const selectedOption = configuration[layer.id];
const imageSrc = layer.options[selectedOption] || layer.defaultSrc;
// Load new image if needed
if (!this.loadedImages[imageSrc]) {
const img = new Image();
img.src = imageSrc;
this.loadedImages[imageSrc] = img;
}
const img = this.loadedImages[imageSrc];
if (img.complete) {
this.ctx.drawImage(img, 0, 0, this.canvas.width, this.canvas.height);
}
});
}
}
\\\`
Shopify Cart Integration
The critical piece: getting your configuration into Shopify's cart with proper pricing. You'll use line item properties and cart attributes:
\\\`javascript
async function addConfiguredProductToCart(configurator) {
const properties = configurator.getLineItemProperties();
const totalPrice = configurator.calculatePrice();
const formData = {
items: [{
id: configurator.variantId,
quantity: 1,
properties: properties
}]
};
try {
const response = await fetch('/cart/add.js', {
method: 'POST',
headers: {
'Content-Type': 'application/json',
},
body: JSON.stringify(formData)
});
if (response.ok) {
// Redirect to cart or show success message
window.location.href = '/cart';
}
} catch (error) {
console.error('Failed to add to cart:', error);
}
}
\\\`
Performance Tips
- Lazy load options - Don't load all images upfront
- Debounce renders - Especially for text input customizations
- Use requestAnimationFrame - For smooth canvas updates
- Preload next likely options - Based on user behavior patterns
The best configurators feel instant. Every optimization matters.
Is Your Website Winning You Work?
21 practical checks across 5 categories. Score yourself and see where you stand — takes 5 minutes.
Get the Free Checklist →